There’s something magical about stumbling across a keepsake from the past. A ticket stub, a scribbled note, even a pebble rocks you back to a time and place you thought was long forgotten. As a dad, I’ve started to realize how fast time flies when you’re raising kids. One day, they’re cramming crayons into their tiny fists and drawing stick figures. The next, they’re taller than you, discussing career plans. That’s why I’m a huge advocate for memory boxes—those little treasure troves that hold moments of your child’s life in one special place. This is how you can create a magical memory box your kids will cherish forever. It’s more than just storage; it’s a portal to relive their childhood, one memento at a time.
Step 1: Pick the Perfect Box
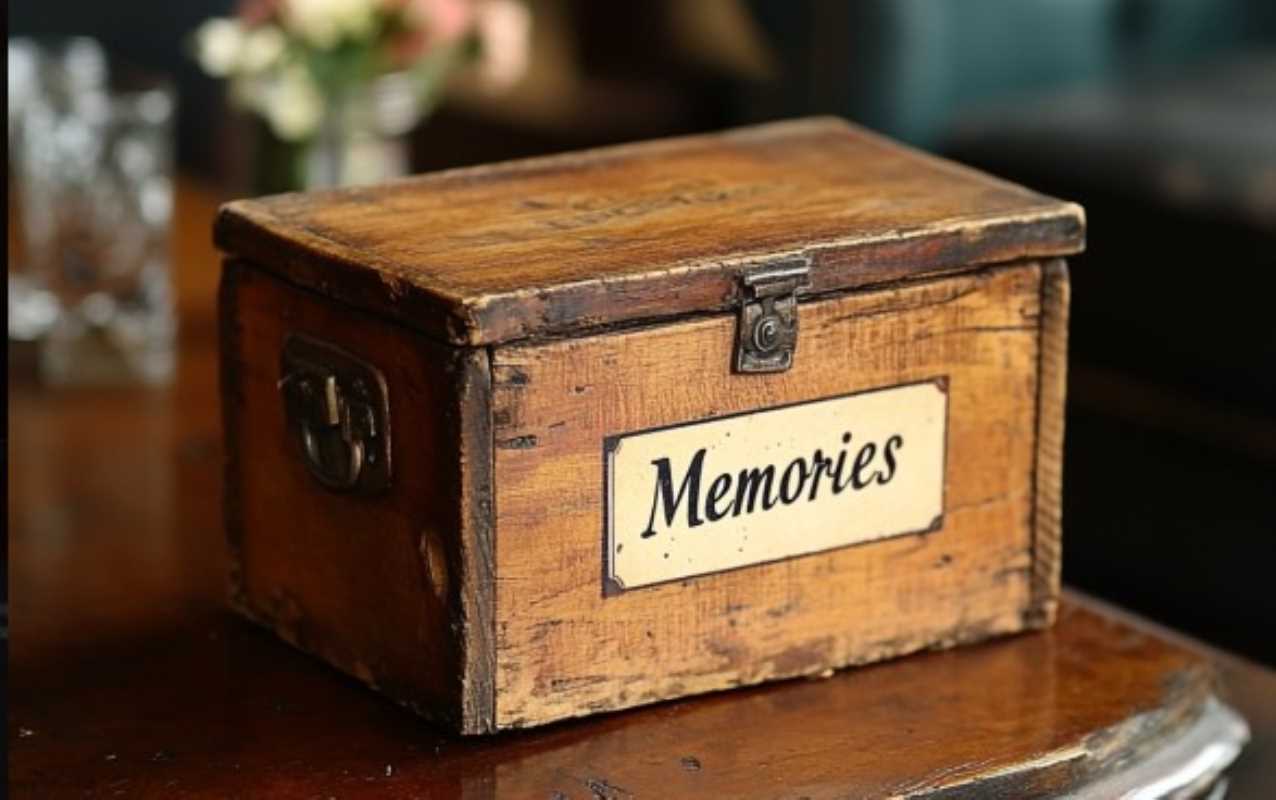
First, you’ll need to find the memory box itself. This might not seem like a big deal, but picking the right box sets the tone for your project. You don’t have to go overboard—a sturdy shoebox can work wonders if you’re going for a DIY vibe.
For a more polished look, choose a wooden or decorative box, maybe one with a latch or a lock. There are some beautiful options at craft stores or online. You can even personalize it with your child’s name, birthdate, or their favorite cartoon character. For me, I used an old wooden chest, sanded it down, and had my daughter paint little stars and hearts all over it. It’s quirky, colorful, and uniquely her.
The goal isn’t to buy the fanciest box but to choose something meaningful—a box that reflects your child or a shared memory between you.
Step 2: Decide What to Include
Here’s the fun—and slightly overwhelming—part. What do you put in it? Memory boxes can hold anything and everything, but to truly make it magical, focus on items that spark emotion, bring joy, or tell a story. These are a few ideas to get you started:
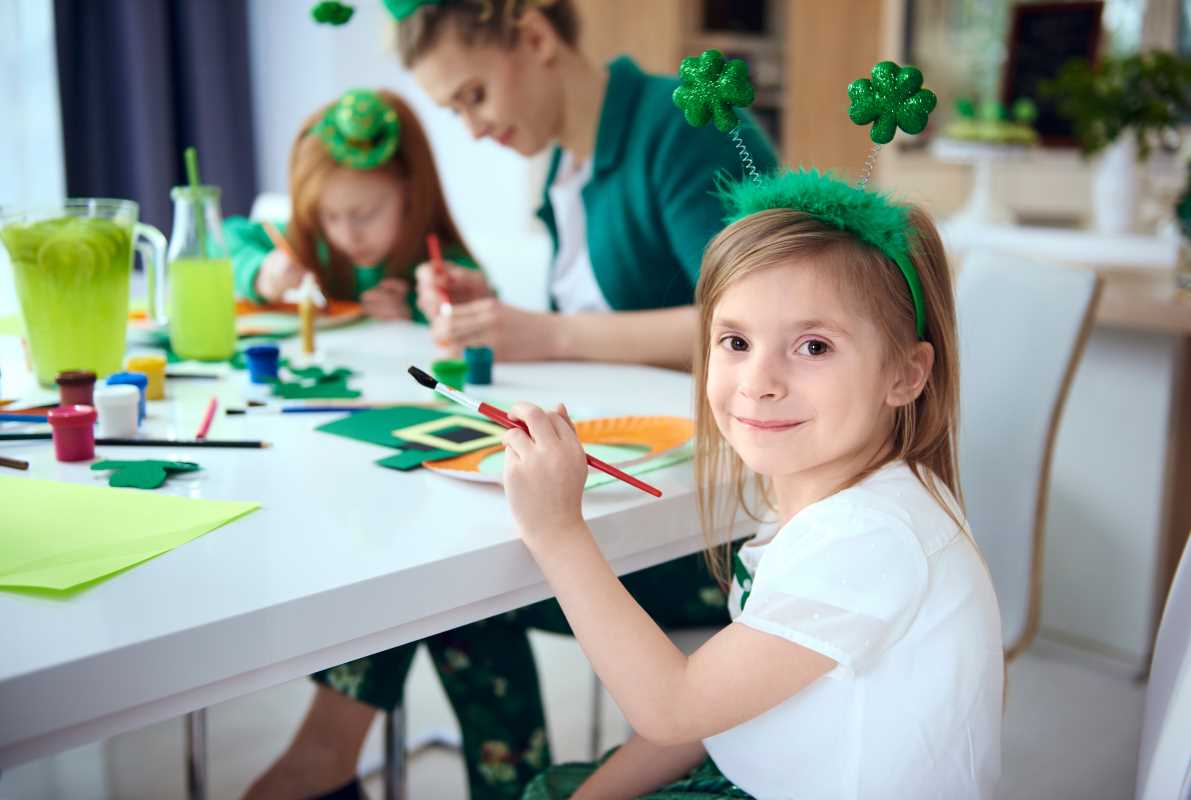
- Artwork and Crafts: Keep that first finger painting or that macaroni art project. Sure, not every scribble has to go in, but the pieces that tug at your heartstrings? Definitely keep those.
- School Keepsakes: Save a report card, a particularly funny assignment, or the note where they wrote “I love my dad” in giant, wobbly letters.
- Baby Items: Tuck in their tiny hospital bracelet, the first onesie they wore, or the pacifier you swore you’d never lose. These are the items you’ll marvel at years later.
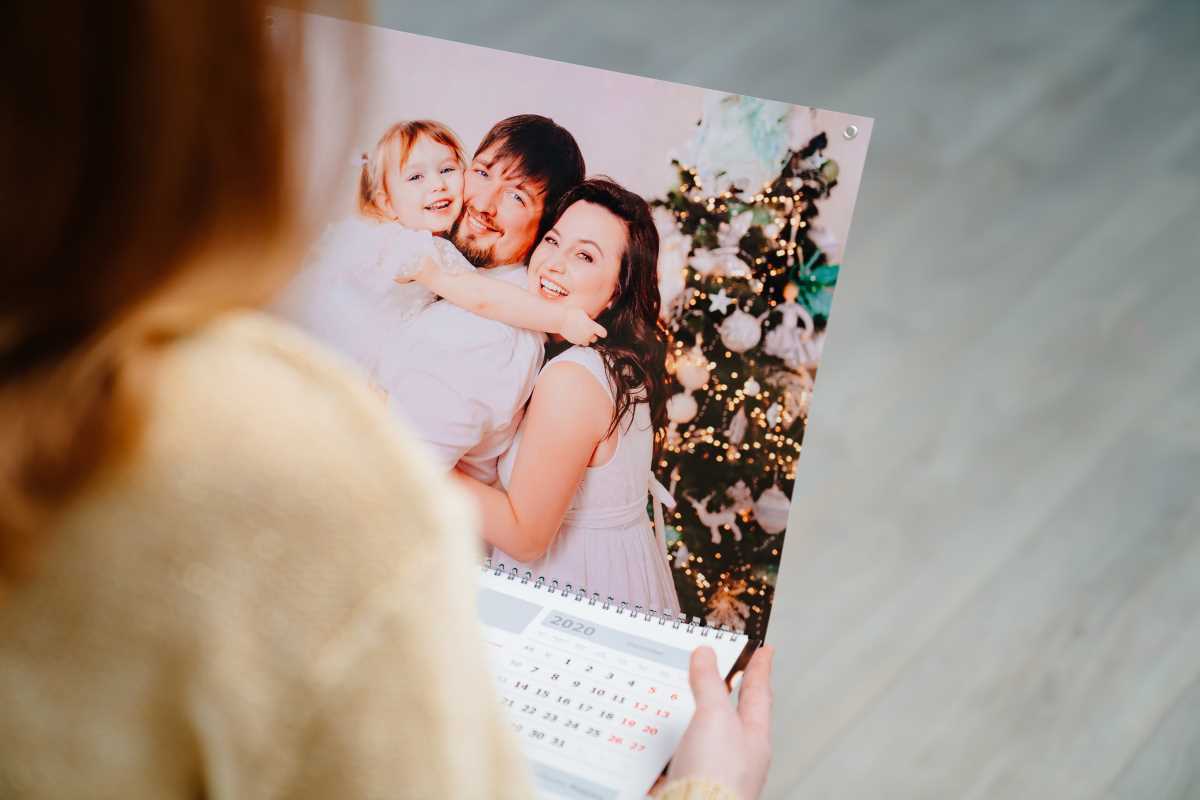
- Photos and Notes: Print a few snapshots—think candid moments, not just holiday photos. If your child writes little notes or letters (my son once gave me one that said, “You’re my fun dad”), treasure those like gold.
- Tickets and Programs: Movie tickets, concert wristbands, or even boarding passes from your family trip—these are small but powerful reminders of shared adventures.
- Special Objects: A little rock they picked up on your hike, seashells from a beach trip, or a jar filled with sand from their favorite vacation spot.
The key is balance. Include items that range from deeply sentimental to delightfully quirky. It’s those little oddities—a squishy toy they adored for all of two weeks—that will make it unique.
Step 3: Organize It
Once you’ve gathered those keepsakes, it’s time to organize them. Now, when I first started our family’s memory box, I basically threw everything in without a system. Big mistake. Fast forward a year, and I was digging through a pile of random papers, muttering, “Why didn’t I label this?” This is what I recommend instead:
- Use Sections or Envelopes: Separate items by categories (artwork, photos, travel mementos) or by years. Envelopes, folders, or small pouches can keep things neat.
- Label, Label, Label: Write down dates and little notes for context. For example, instead of tossing in a crumpled photo, attach a sticky note saying, “Jake’s first soccer game—he scored an own goal but was so proud of it!”
- Consider a Chronological Order: Stack the keepsakes in the order they happened, so when your child looks through the box in the future, it feels like flipping through time.
Step 4: Make It a Family Project
One of the best parts of creating a memory box is that it doesn’t have to be a solo activity. Invite your kids to join you! Sit together on the floor, surrounded by keepsakes, and sort through them as a family.
I still remember doing this with my wife and kids. My son found one of his old drawings and shouted, “Wow, my dinosaurs were terrible!” My daughter picked up a ticket stub from a zoo trip and said, “This was the day the monkey stole my sandwich!” We laughed our hearts out over those nostalgic little moments.
The process itself becomes a memory, another layer of meaning behind the box.
Step 5: Add a Note or Letter
Lastly, consider writing a letter to your child and placing it inside the box. It doesn’t have to be long or overly mushy (unless you want it to be!). Just write down what you feel in this moment—your hopes, your favorite memories with them, or how much creating this memory box means to you.
I did this for my kids, and although they haven’t read the letters yet, I know one day, they’ll open them and see a piece of me they might not have fully understood when they were young.
Why It Matters
A memory box isn’t about perfection. It’s not about fitting every milestone into a container. It’s about capturing the essence of your child’s early years—the laughs, the tears, the everyday magic.
Years from now, when your kids open that box, they won’t just see objects. They’ll see love, effort, and the way you cherished their childhood. That’s the real treasure.
Time goes by faster than we parents want to admit, but a memory box is one way to hold on to those fleeting moments a little longer. Trust me, whether they’re six or sixty when they open it, your kids will thank you for creating it. And if you’re lucky, they might even do the same for their kids one day.