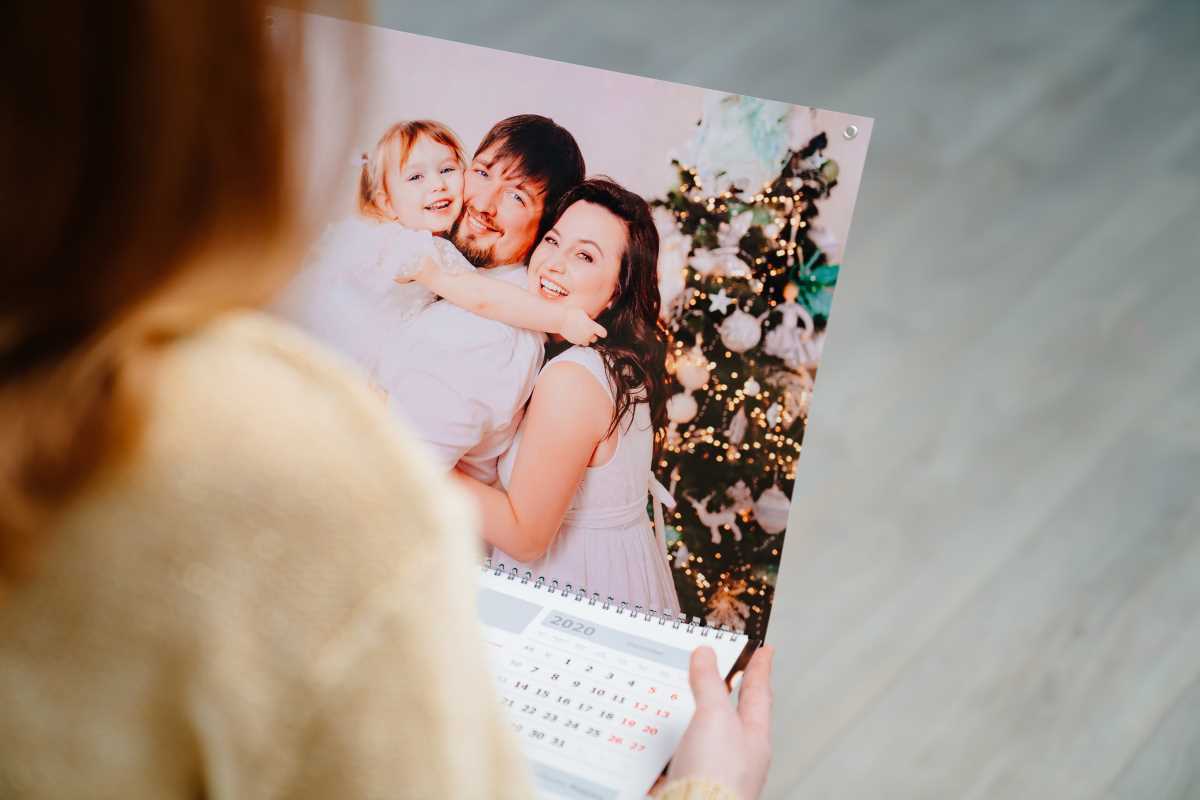
A personalized calendar is more than just a way to keep track of the days—it’s a celebration of family memories, creativity, and little moments that deserve a place on the wall. Instead of settling for a store-bought planner that no one really looks at, why not turn favorite family photos or kids’ artwork into a custom calendar that brightens up the home all year long? Making a DIY calendar is not just fun, it’s also a perfect project for kids and parents to work on together. It’s practical, creative, and guarantees that no one will forget Grandma’s birthday again.
Gathering the Essentials
Before diving into the design process, a few basic supplies are needed. Thankfully, most of these are already lying around the house.
Basic Supplies:
- Cardstock or thick printer paper
- A hole punch
- A ruler and pencil
- Markers, stickers, or decorative tape
- Printed family photos or children’s artwork
- A printer (or access to a local print shop)
- A binding method (ring clips, ribbon, or even a simple clipboard)
Once everything is set up, it’s time for the real fun—designing a calendar that the whole family will love.
Step 1: Choosing a Theme
Some families like to keep things organized and color-coded, while others prefer a collage of chaotic joy. Either way, picking a theme makes the process easier.
Theme Ideas:
- A Year in Photos: One favorite photo from each month of the past year. Perfect for reliving vacations, birthdays, and silly moments.
- Kid Creations: Each month features a masterpiece straight from the fridge art gallery.
- Seasonal Fun: Bright summer beach scenes, cozy fall leaves, winter snowmen, and blooming spring flowers.
- Family Traditions: Holidays, game nights, first days of school—moments that make family life special.
- Pet Parade: Because sometimes the dog is the real star of the family.
Once the theme is decided, the real work begins.
Step 2: Designing the Calendar Pages
Each month needs two basic parts: a space for the calendar grid and a space for the decorative feature (photo, artwork, or both).
For a Handmade Look:
- Draw the calendar grid with a ruler and pencil, leaving space for important dates.
- Decorate the borders with washi tape, stickers, or doodles.
- Glue or tape printed photos or drawings above the grid.
For a Digital Touch:
- Use free design software like Canva or a simple word processor to create a printable layout.
- Add family photos, clipart, and personalized notes before printing.
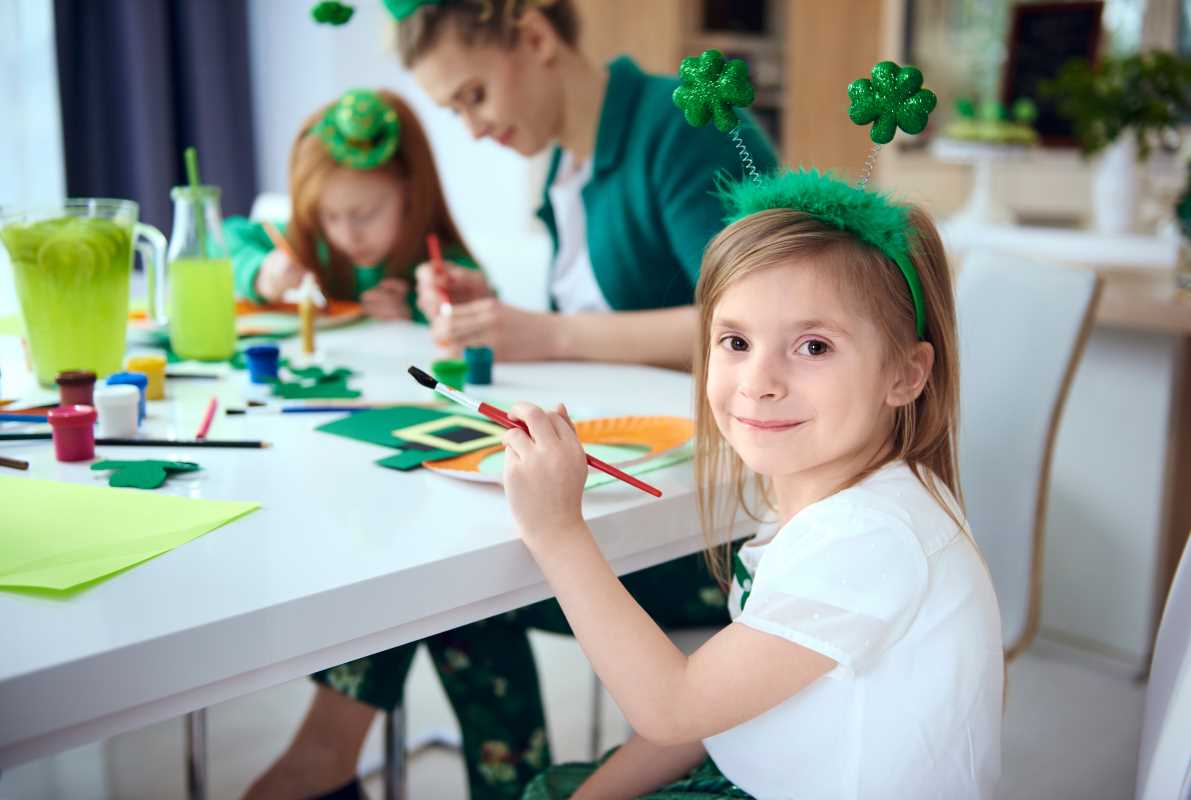
- Kids can help by adding their own doodles, stamping their handprints, or writing in special days like their birthdays (as if anyone could forget).
Step 3: Highlighting Special Days
A calendar is only as useful as the notes written in it. Before finalizing the pages, take time to fill in important family dates.
Must-Include Dates:
- Birthdays of every family member (and maybe the pets, too)
- Holidays and school breaks
- Family vacations and big events
- Monthly traditions (Sunday pancakes, movie nights, pizza Fridays)
- Anniversaries and “just because” celebrations
Letting kids help with this part adds an extra touch of excitement. A five-year-old might decide that “National Ice Cream Day” deserves a spot next to Thanksgiving—and honestly, they’re not wrong.
Step 4: Assembling the Calendar
Once all the pages are decorated and dates are filled in, it’s time to put everything together. There are a few easy ways to bind a DIY calendar:
- Hole punch and binder rings: Simple, sturdy, and allows for easy page-flipping.
- Ribbon or yarn: A charming, homemade touch that also keeps pages together.
- Clipboard style: Attach all pages to a sturdy clipboard for an easy-to-update display.
- Spiral-bound (for the ambitious): A trip to a local print shop can turn a DIY calendar into a professionally bound masterpiece.
Step 5: Displaying the Masterpiece
The final step is finding the perfect spot to hang the calendar. Some families like to keep it in the kitchen for easy reference, while others might hang it near the front door to catch everyone on their way out.
A DIY personalized calendar isn’t just about keeping track of the days—it’s a way to celebrate family, creativity, and all the little moments in between. And the best part? At the end of the year, it becomes a keepsake filled with memories that can be saved for years to come.