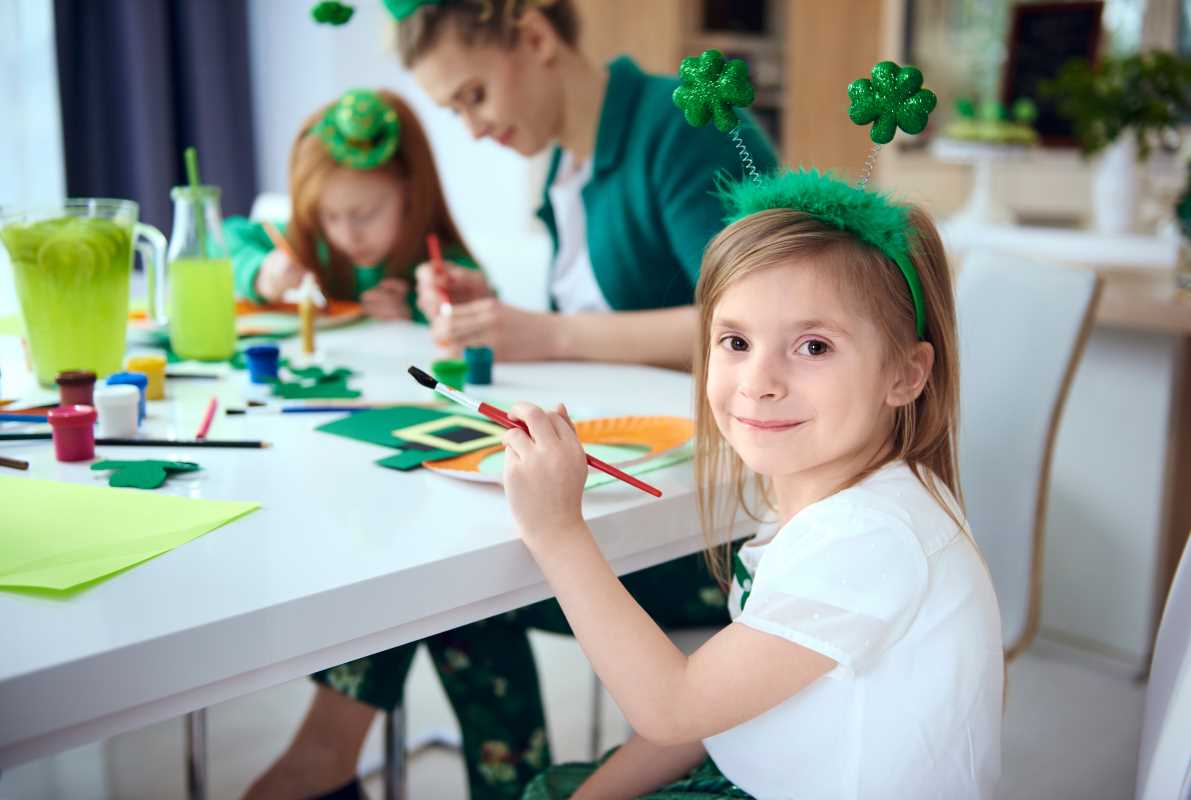
A garden is more than just a place to grow flowers and veggies—it’s an ever-changing canvas that reflects a family’s creativity and love for nature. And what better way to add personality and charm than with hand-painted flower pots? This simple, colorful craft is an easy way to brighten up any garden, balcony, or front porch while giving kids (and adults!) a fun way to express themselves.
Hand-painting flower pots is the perfect weekend activity—messy enough to be exciting but easy enough to keep frustration at bay. Plus, when everyone gets involved, it turns into a collaborative art project that adds a personal touch to the family garden. With a few supplies and a little imagination, plain terracotta or plastic pots can be transformed into vibrant works of art.
Gathering the Supplies
Before the creativity begins, it’s important to set up a space where everyone can get a little messy. Laying down newspaper or an old tablecloth is a smart move—paint splatters are inevitable, especially when kids are involved.
Supplies Needed:
- Terracotta or plastic flower pots (any size)
- Acrylic paints (outdoor-friendly ones work best)
- Paintbrushes in various sizes
- A cup of water (for rinsing brushes)
- Paper towels or rags
- Painter’s tape (optional for clean lines)
- Permanent markers for detailing
- Clear spray sealant (for protection against weather)
Now, with everything set up, it’s time to bring those pots to life!
Choosing a Theme (Or Just Going Wild!)
Some families love a coordinated garden, where every pot follows a theme—maybe rainbow colors, pastel hues, or even a galaxy-inspired look. Others prefer an eclectic mix, letting each family member create their own masterpiece. Either way, having a loose idea of a design before picking up the paintbrush can be helpful.
These are a few fun ideas to spark creativity:
- Rainbow Stripes: Use painter’s tape to create clean, bold stripes for a cheerful, colorful effect.
- Polka Dots: Dip a paintbrush handle into paint and dot it all over the pot for a playful look.
- Ombre Gradient: Blend two or three colors together for a smooth, artsy fade.
- Handprints and Finger Paint Designs: Great for younger kids who want to make a mess in the best way possible.
- Floral Patterns: Paint simple daisies, tulips, or sunflowers to match the real flowers growing inside.
- Animal Faces: Turn pots into cute creatures with painted-on eyes, noses, and whiskers.
- Galaxy Pots: Blend deep purples, blues, and whites to create an out-of-this-world cosmic effect.
Painting Techniques for Little and Big Hands
Not all kids are ready to paint tiny details, and that’s perfectly fine. This is a project where every brushstroke, fingerprint, and splatter adds character.
- For Toddlers: Let them use their hands! Smearing and dabbing paint is half the fun, and the results are always adorable.
- For Preschoolers: They can experiment with basic shapes like hearts, stars, or wavy lines. Foam brushes make it easier for them to spread paint without too much precision.
- For Older Kids and Adults: Try layering designs, adding tiny flowers, painting on inspirational words, or even using stencils for crisp patterns.
To make the process even smoother, work in layers. Let the base color dry first before adding details, so everything stays crisp and clean. If someone accidentally smudges their work? No problem—just paint over it and start again!
Adding Details and Personality
Once the base colors have dried, it’s time for the finishing touches. A thin paintbrush or a permanent marker works great for adding outlines, tiny flowers, vines, or even family members’ names. This is also a fun opportunity to let kids personalize their pots with silly doodles, secret messages, or even jokes (because who wouldn’t want a flower pot that says, “I wet my plants” on the side?).
For an extra special touch, some families like to write the date on the bottom of each pot as a keepsake. Over the years, these painted pots become a record of little hands growing bigger, evolving painting styles, and shared creative memories.
Sealing the Masterpieces
Since these pots are meant for outdoor use, sealing them is a must. A clear spray sealant protects the paint from rain, sun, and dirt, making sure all that hard work lasts as long as possible. Kids can help with this step, but an adult should handle the actual spraying (preferably outside in a well-ventilated space).
Once sealed and dry, the pots are officially garden-ready!
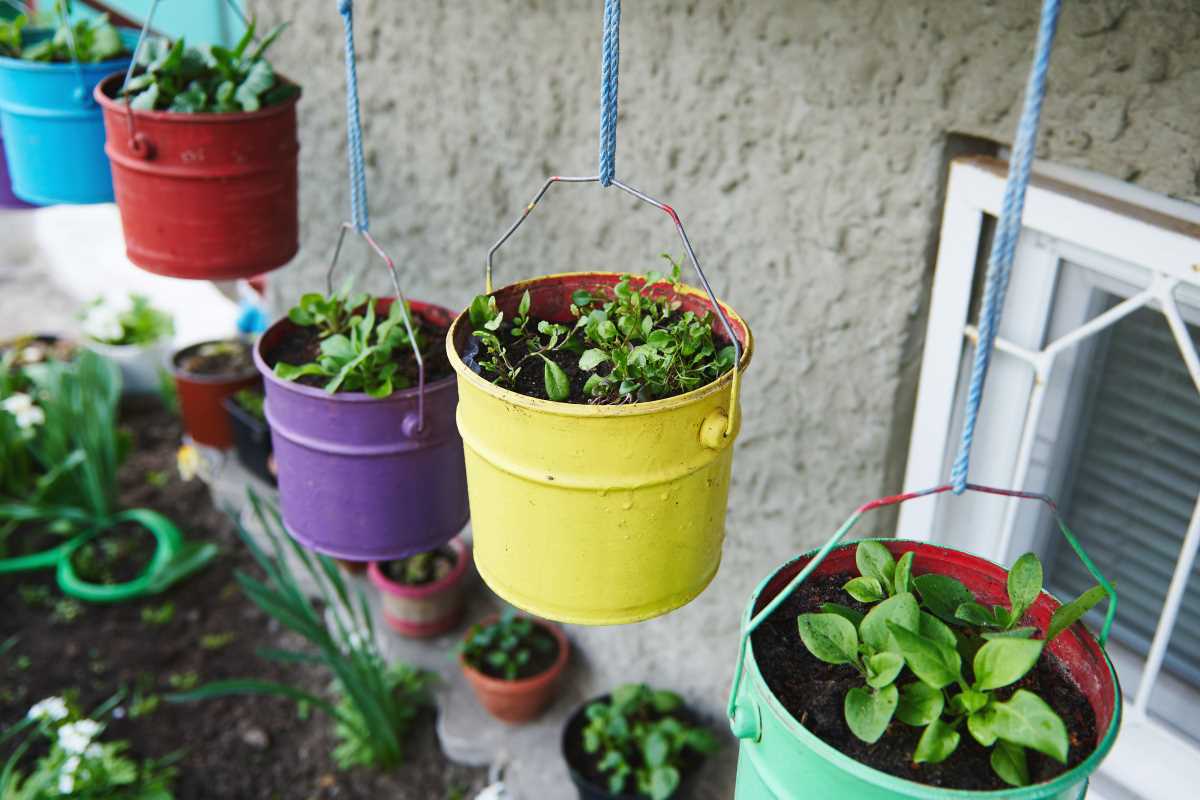
Planting the Perfect Match
Now comes the fun part—choosing what to plant in each one! Some kids might want to pick flowers that match their pots, while others will be more excited about growing something they can snack on later (strawberries, anyone?).
These easy-to-grow options work great in hand-painted pots:
- Marigolds: Bright, cheerful, and practically impossible to kill.
- Succulents: Perfect for kids who might forget to water them.
- Cherry Tomatoes: Fun to watch grow and even more fun to eat!
- Basil or Mint: Adds a fresh scent and can be used in family meals.
- Pansies: Colorful, low-maintenance flowers that last through multiple seasons.
Letting each child choose what to plant makes them more invested in taking care of their pots, and it’s a great way to sneak in a little gardening lesson.