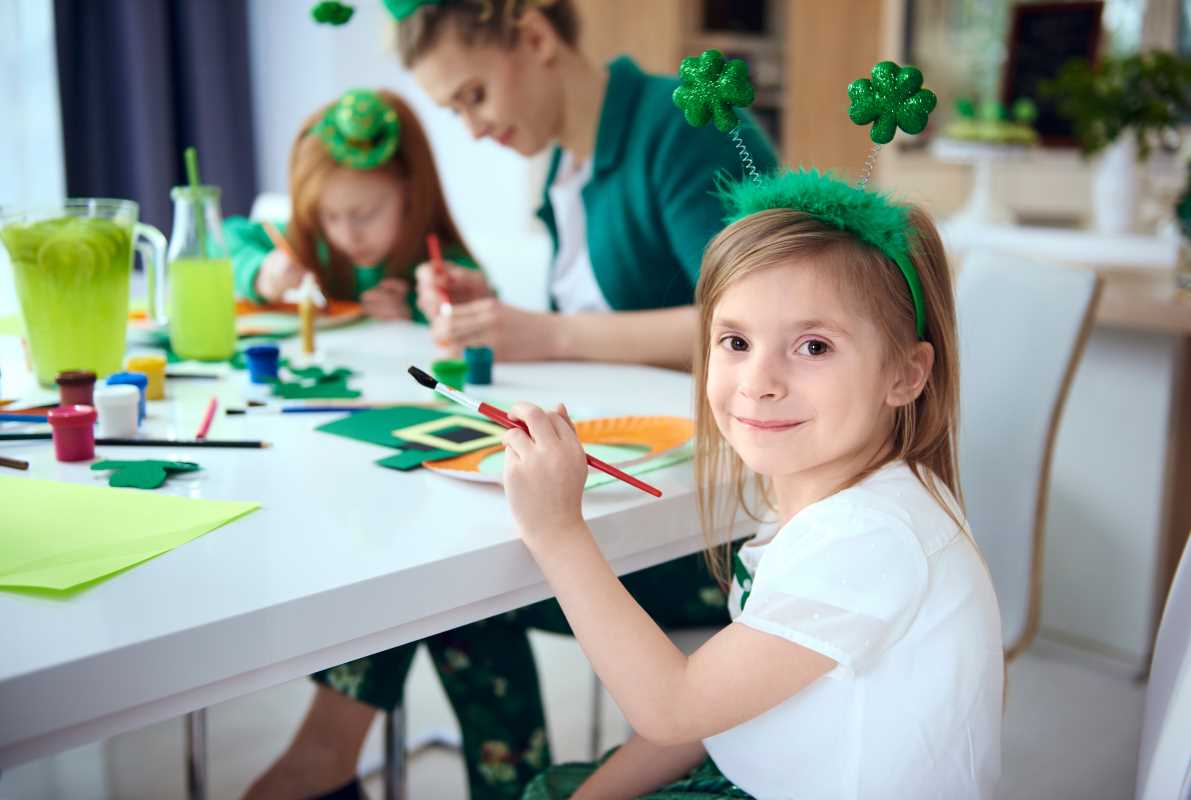
Every parent knows the struggle—kids bring home endless stacks of colorful, crayon-filled masterpieces, and while every single one is precious, there’s only so much space on the fridge. The easy solution is to tuck them into a box for safekeeping, but what happens when that box turns into three boxes, then five, then an entire storage closet full of macaroni art? Instead of letting those creative treasures collect dust, why not find fun, functional, and decorative ways to keep them in the spotlight? Here are some creative ways to display, repurpose, and preserve your child’s artwork—without shoving it into yet another overflowing bin.
Turn It Into a Rotating Art Gallery
Create an ever-changing art display by hanging a few simple frames or clipboards on the wall. Instead of permanently framing each piece, swap out new artwork every month (or week, depending on how fast the masterpieces roll in).
How to do it:
- Use large, open frames without glass so you can easily change out the artwork.
- Hang a wire with clothespins for a casual, artsy look that makes swapping artwork a breeze.
- Clipboards mounted on the wall let kids be the curators of their own rotating exhibit.
This way, your child’s art gets the attention it deserves without overwhelming the entire house.
Make a Bound Book of Masterpieces
Instead of letting drawings pile up in a drawer, turn them into a bound keepsake. A simple hole punch and binder rings can transform loose papers into a handmade "art book," or for a more polished look, scan the artwork and order a printed photo book.
Why it works:
- Keeps artwork organized and easy to flip through.
- Takes up way less space than a storage bin full of papers.
- Makes a great gift for grandparents who love to admire their little artist’s work.
For extra fun, let kids title each piece and write little descriptions, turning their artwork into a mini-museum catalog.
Wrap Gifts with It
Nothing says “thoughtful” like a present wrapped in homemade art. Instead of buying wrapping paper, use finger-painted masterpieces or giant scribbles as one-of-a-kind gift wrap.
Tips for making it extra special:
- Add some ribbon or twine for a polished look.
- Use smaller pieces for homemade gift tags.
- Let kids personalize their artwork-wrapped gifts with stamps or stickers.
It’s an easy way to put old drawings to good use while making gift-giving a little more personal.
Create a Giant Collage
If the idea of saving every single drawing feels overwhelming, consider trimming and arranging pieces into a large collage.
How to do it:
- Cut favorite sections of different drawings and paste them onto a canvas.
- Use Mod Podge to seal the pieces together for a finished look.
- Frame the collage as a fun, abstract piece of family artwork.
This method lets multiple pieces live together in one special display, rather than cluttering every surface of the house.
Turn Art into Functional Items
Why not turn artwork into everyday items that the whole family can use? Scan or photograph drawings and have them printed onto:
- Mugs or tote bags (perfect for grandparents or teachers)
- Throw pillows for a unique and personal home decor touch
- Phone cases so parents can carry their child’s artwork everywhere
There are plenty of online printing services that can turn a scribble into something stylish and practical.
Make DIY Art Puzzles
A stack of drawings can quickly become a collection of custom puzzles with just a little creativity and some scissors.
How to do it:
- Glue artwork onto cardboard for sturdiness.
- Cut into puzzle-shaped pieces (big ones for younger kids, smaller ones for a challenge).
- Store the pieces in a labeled envelope for puzzle fun anytime.
This is a great way to repurpose older pieces into something interactive and fun.
Display Art on Everyday Items
For a quick and easy way to keep art in everyday life, use clear adhesive sheets or laminating paper to:
- Decorate notebooks or school folders.
- Create personalized placemats for the dinner table.
- Make DIY bookmarks that kids can use in their favorite books.
These little touches turn children’s art into something useful instead of letting it pile up.
Send It as "Happy Mail"
Artwork doesn’t have to stay in the house—send it off to bring joy to someone else!
Ideas for sharing:
- Mail it to grandparents, aunts, and uncles.
- Turn artwork into postcards for fun, handwritten messages.
- Use drawings as homemade greeting cards for birthdays and holidays.
This keeps the artwork in circulation and makes someone’s day a little brighter.
Transform Drawings into Embroidery or Fabric Art
If there’s a particular doodle or drawing that’s too cute to part with, consider turning it into a stitched design on a pillow or t-shirt.
How to do it:
- Trace the artwork onto fabric with a washable marker.
- Use simple embroidery stitches to outline and color in the design.
- Turn the fabric into a pillow, wall hanging, or even a tote bag.
This gives a whole new life to a child’s creation while preserving it in a unique, lasting way.
Laminate and Use for Wall Decals
For an easy, reusable way to decorate, laminate favorite pieces and use double-sided tape or removable adhesive to display them as wall decals. Kids can move them around, switch them out, and even use them as decorations for different seasons.
This method is great for families who want a fun, changeable art display without committing to a permanent frame.


