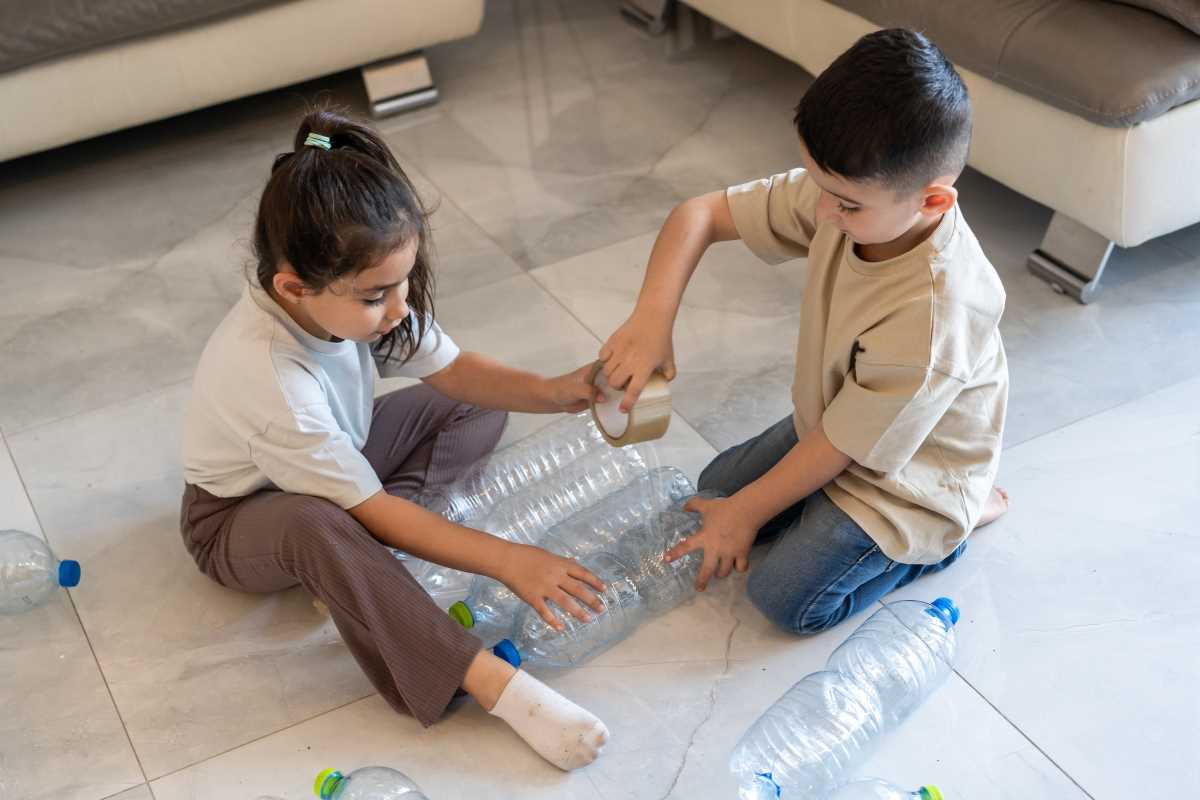
Ah, the humble cardboard box. It’s the universal truth of parenting—spend hours picking the perfect toy, and your kid will have way more fun with the packaging it came in. But guess what? That’s not a bad thing! With a little imagination and some very basic supplies, you can turn not just boxes, but all kinds of recyclables into masterpieces.
More than just saving money, these projects teach kids creativity, problem-solving, and how to see value in the things we usually throw away. Plus, it’s a sneaky way to work in some solid lessons about sustainability. Keep reading for some genius ideas (tested and loved by parents) that’ll turn your kitchen trash pile into the art studio of your kid’s dreams.
1. Plastic Bottle Fairy Gardens
Ever notice how much magic kids can find in the smallest things? A tiny rock becomes a treasure, a stick transforms into a wand—so why not turn their attention to your recycling bin? Those empty soda bottles lurking in the corner are the perfect starting point for a whimsical fairy community.
Not only does this craft tap into your child’s love for miniatures, but it’s also great for garden enthusiasts who want to share their passion with the next generation. Plus, there’s an extra thrill for kids when they spot a “fairy” (read: bug) in their creation later on.
What you’ll need:
- Empty 2-liter plastic bottles
- Scissors or a craft knife (parental use only!)
- Soil and small plants (like moss or succulents)
- Pebbles, buttons, broken jewelry, or other small trinkets
- Washable paints and brushes
How to make it:
- Cut the bottle: Carefully cut the plastic bottle in half horizontally, leaving a sturdy base. This is where your fairy garden magic begins.
- Fill with nature: Add soil, nestle in your plants, and sprinkle on pebbles to form pathways.
- Raid the junk drawer: Dig through that stash of random odds and ends—what’s junk to you is fairy furniture to them.
- Paint some charm: Kids can decorate the outside of the bottle and even add a nameplate for their enchanted world.
Watching your kids water their tiny gardens like dedicated caretakers might just warm your heart in ways you didn’t expect.
2. Cardboard Castle Kingdom
Few things ignite a kid’s imagination like castles. Whether they’re pretending to be noble knights or daring princesses, the possibilities are limitless. You’d be amazed at how quickly a plain box becomes a fortress, a dungeon, or even a hideout for plotting top-secret missions.
And here’s the real parenting win—this activity also keeps them off screens for a while. If you’re lucky, they’ll be so invested in their kingdom that you might even be able to enjoy a hot cup of coffee.
What you’ll need:
- Large cardboard boxes (the bigger, the better!)
- Washable markers, crayons, or paint
- Kid-safe scissors and tape
How to make it:
- Create a plan: Ask your kids to sketch their dream castle on paper—it adds to the excitement!
- Build the structure: Cut out windows, doors, and a working drawbridge together. Reinforce with masking tape if needed.
- Personalize the palace: Hand over markers or paint so they can add designs like bricks, banners, or vines creeping up the walls.
- Play and conquer: Whether it’s knights and dragons or teddy bear tea parties, the castle is hours of imaginative fun.
And what comes after “long live the king?” Bedtime after an energy-draining afternoon playing in their cardboard empire.
3. Tin Can Wind Chimes
Got leftover soup cans? Great! You’re about to turn them into both an art project and a garden accessory. Tin can wind chimes are the perfect example of recycling with flair. They’re colorful, musical, and make your backyard feel oh-so whimsical.
Warning though—once the kids hear the chimes in action, their boundless pride will require they show everyone in the family “their masterpiece,” so get ready for grandparent FaceTime sessions.
What you’ll need:
- Empty tin cans (cleaned and dried)
- Acrylic paint and brushes
- Drill with small drill bit (for parents)
- String, yarn, or twine
- Old keys, bottle caps, or metal scraps
How to make it:
- Paint the cans: Have the kids paint each can in rainbow-bright colors, adding swirls, stars, or even their names.
- Drill holes: Carefully drill a hole in the bottom of each can.
- Thread the string: Tie one end of the string through the hole, leaving it long enough to dangle.
- Add shiny stuff: Tie old metal objects, like keys or caps, at the string’s end so they clink together.
- Hang it up: Securely tie all the strings together at the top and hang from a tree branch or porch.
The gentle sound of the wind playing their creation might just be the most soothing part of your day.
4. Egg Carton Coral Reef
If your kids love wild colors and imaginative creatures, this craft is about to blow their minds. Turning old egg cartons into coral reefs is not only a fantastic way to teach them about undersea ecosystems, but it also doubles as room decor that packs a “made it myself” punch.
Even better, this is the kind of craft where color-mixing experiments and dripping paint are 100% part of the fun. Put down an old tablecloth and lean into the chaos.
What you’ll need:
- Cardboard egg cartons
- Acrylic paint in ocean-themed colors
- Ribbons or pipe cleaners for details
How to make it:
- Cut it up: Separate the cups from the egg carton to form coral shapes.
- Paint like Picasso: Encourage the kids to paint in bright, funky colors—there’s no wrong answer here.
- Add ocean extras: Use pipe cleaners for tentacles or attach ribbons as seaweed. Bonus points if you add glitter for sparkle!
- Set the scene: Mount finished coral onto a blue-painted cardboard backdrop for full underwater vibes.
It’s like The Little Mermaid came to life on your kitchen wall.
5. T-Shirt Tote Bags
Ah, the mystery of the family t-shirt drawer—how do we collect so many shirts that no longer fit? Solve the dilemma by turning them into useful, eco-friendly totes. Your kids might even invent “tote personalities” for each design (your old vacation tee? It’s now the “Beach Bag Supreme”).
This project is simple, mess-free, and doubles as a fun way to work through a stash of crafts you didn’t know what to do with, like that fabric paint you haven’t touched in years.
What you’ll need:
- Old t-shirts
- Scissors
- Fabric paint or markers
How to make it:
- Trim and tie: Cut off the sleeves and neckline, then make fringe cuts along the bottom of the shirt. Tie the fringe pieces to close the bottom.
- Decorate: Painting, doodling, or stamping designs on the shirt make it extra special.
These totes are perfect for holding toys, snacks, and library books—or being stuffed back into the drawer as “sleepover essentials."
Remember, perfection isn’t the goal here—fun is. Each project is a chance to laugh, get messy, and bond, all while showing your kids how everyday items can have a new purpose. Pretty soon, they’ll realize the recycling bin isn’t just full of trash—it’s brimming with possibilities.
