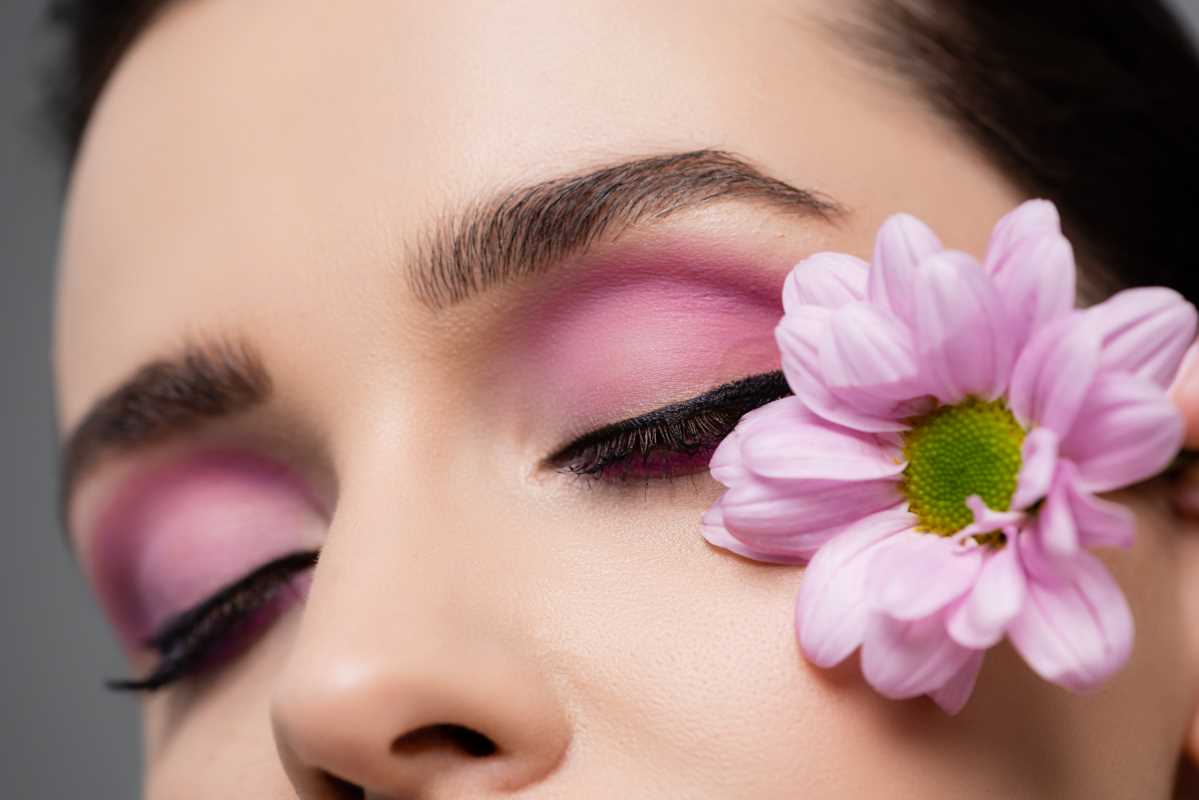
Let’s talk about one of my absolute favorite things in the makeup world: winged eyeliner. But, I get it—if you’ve got hooded eyes like me, this is a tricky situation to master. The struggle is real when you’re trying to get that perfect cat-eye flick, only for it to disappear the second you open your eyes. But trust me, it’s totally doable, and I’m here to show you how to nail that winged eyeliner with hooded eyes. So grab your eyeliner, and let’s get started.
Understanding Hooded Eyes
Before we dive into the how-to, let's talk about what hooded eyes actually are. Hooded eyes are characterized by excess skin on the upper eyelid that can create a "hooded" effect, which often covers part of the eyelid when the eyes are open. This can make it tricky to see your eyeliner when you open your eyes, but it’s not impossible to work with. Trust me, I’ve been there, and now I’m here to pass on my knowledge.
The goal with hooded eyes is to make sure that your eyeliner is visible when your eyes are open, and to do that, you need to adjust your technique. But don’t worry—you’ll be slaying that winged eyeliner in no time!
Step 1: Prime Your Eyelids
Let’s start with the basics. Hooded eyes can sometimes make makeup crease or smudge more easily, so priming is a MUST. A good primer will ensure that your eyeliner stays in place all day (or night) and doesn’t fade away into oblivion.
I love using an eye primer or even a concealer to prime my lids. Just dab a little bit on your eyelid, blend it in with your fingers or a brush, and let it set for a minute. You want a smooth, clean base before going in with your eyeliner. Trust me, this step is a game-changer.
Step 2: Choose the Right Eyeliner
Now, let's talk products. The eyeliner you choose is so important when it comes to hooded eyes. You need something that has staying power and won’t smudge or transfer. So, liquid eyeliner or gel liners are usually the best options, especially ones that have a fine, precise tip for sharp lines. If you’re a fan of pencil liners, you can definitely use them too, but just know that you’ll need to be more careful when applying them, as they tend to smudge a little more.
My go-to is a liquid liner with a felt-tip applicator. It's easy to control, and it’s super pigmented. You want that bold black line to really pop, right?
Step 3: Start with a Thin Line
Alright, this is where we get into the technique. With hooded eyes, it’s essential to start with a thin line along your upper lash line. The reason? You want to keep the focus on the wing and avoid creating a thick line that might cover up the crease of your eye.
Start in the middle of your lash line and work your way out. Don’t stress about the wing yet—we’re just laying down the foundation. Make sure the line is as close to your lashes as possible to create that flawless, smooth look.
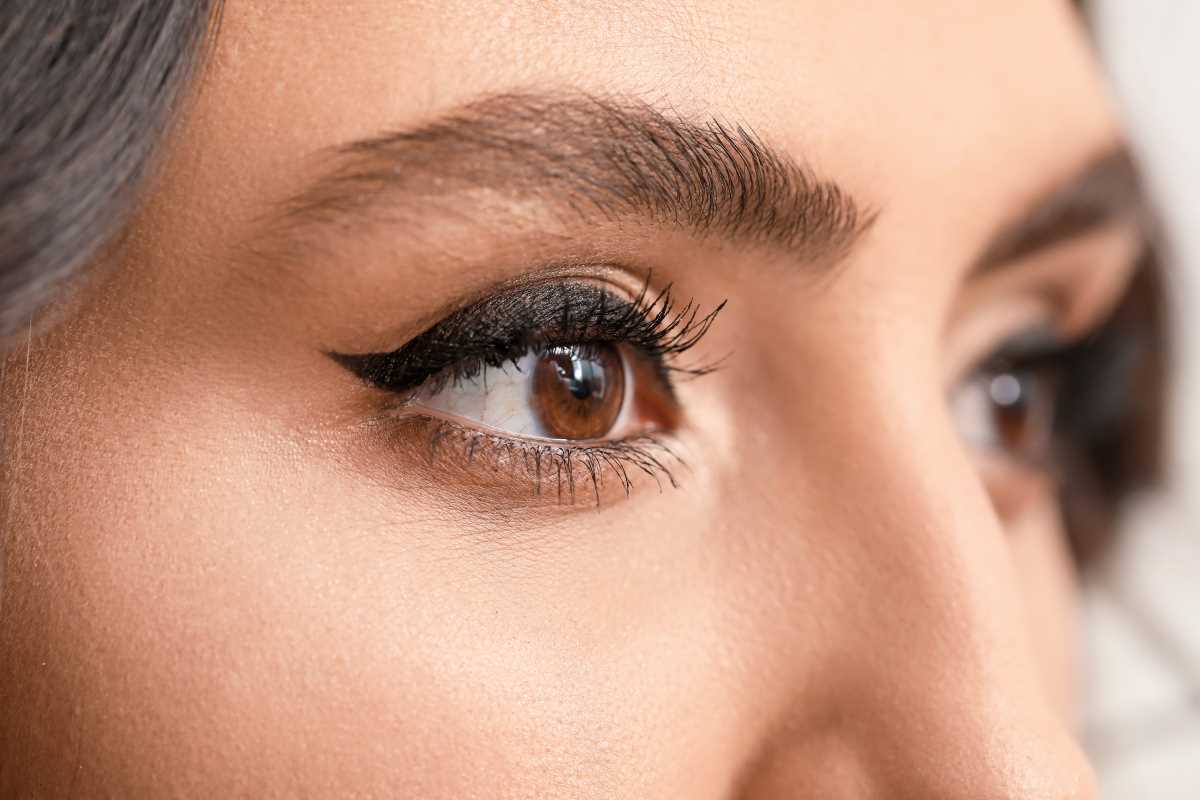
Step 4: Create the Wing
Here’s where things get fun—the wing!
For hooded eyes, you don’t want to follow the natural shape of your eye as you would for non-hooded eyes. Instead, you need to think of the wing in terms of an angle that lifts your eyes up. So, I always look straight into the mirror and lightly trace a line that follows the natural lower lash line direction.
Start by placing your eyeliner where your lower lash line would continue if it were extended, and use that as your guide. Once you've created that line, it's time to connect the tip of the wing back to the top of your lash line. Now, don’t rush it! Take your time and make sure both sides are even.
Step 5: Connect the Dots
Now that we’ve got the wing in place, we want to make sure that everything is connected and seamless. Go ahead and draw a line from the end of your wing to the top of your lash line. Fill in the empty space, and be sure to make the line as smooth as possible. Hooded eyes can make it tricky to get a perfect line, so don’t be afraid to go back in with a tiny brush to clean up any uneven areas.
For extra definition, you can also tight-line your upper waterline with a pencil liner for more intensity. This makes the eyeliner look more natural and well-blended, especially if you're going for a more dramatic look.
Step 6: Set It with Powder
After you've achieved the perfect wing, you need to lock it in place. Eyeliner, especially on hooded eyes, can smudge or fade over time, so I always set it with a little bit of black eyeshadow. Take a small, angled brush and dip it into matte black eyeshadow, then lightly press it on top of your eyeliner to set it.
This step helps prevent any transfer to your eyelid, especially if you’re prone to oily lids. It also gives your eyeliner a softer, more blended look. This is a total lifesaver if you're heading out for a long day or night of partying.
Step 7: The Final Touches
Last but not least, don’t forget about mascara. Hooded eyes tend to make lashes appear hidden, so you want to add volume and length to really make your eyes pop. Go for a volumizing mascara that lifts and separates your lashes, and apply it generously on both your top and bottom lashes. If you’re feeling extra, you can even add some false lashes for an even more dramatic effect.
Final Tips for Winged Eyeliner with Hooded Eyes
Okay, these are a few extra tips that I’ve learned over the years to really master this look:
- Don’t forget to adjust: Eyeliner is all about trial and error, especially for hooded eyes. If something’s off, wipe it off, and try again. Sometimes, it just takes a few attempts to get the shape you want.
- Use tape: If you're feeling extra, you can use a piece of tape to help guide your wing. Just make sure it's not too sticky, and peel it off gently for that sharp, clean line.
- Practice, practice, practice: Honestly, the more you do it, the easier it gets. You’re gonna get your technique down in no time.